As renewable energy gains traction, many individuals are exploring innovative ways to incorporate solar power into everyday applications. One such application is creating a fan powered by solar energy. This environmentally friendly solution reduces reliance on traditional electricity and ensures a sustainable approach to cooling needs. In this article, we will cover everything you need to know about the items needed to create a fan using a solar panel, the step-by-step process, advantages, and essential considerations.
Key Takeaways
- Solar-powered fans are a cost-effective and sustainable alternative to traditional cooling systems.
- A variety of components, such as solar panels, batteries, inverters, and motors, are essential for building this system.
- Proper sizing and compatibility of components are critical for optimal performance.
- Solar-powered fans have advantages such as low operational costs, portability, and environmental friendliness.
Advantages of Solar-Powered Fans
Before diving into the components, let’s understand why solar-powered fans are becoming popular:
- Environmentally Friendly: Solar energy is renewable and reduces carbon emissions.
- Cost Savings: Once installed, solar-powered fans eliminate recurring electricity costs.
- Portability: These fans can be used in remote areas where grid electricity is unavailable.
- Energy Independence: Solar-powered systems reduce reliance on traditional power sources, offering reliability during outages.
Items Needed to Create a Fan Using a Solar Panel
To create a solar-powered fan, you’ll need several essential components, tools, and materials. Below is a breakdown:
1. Solar Panel
The solar panel is the heart of your setup. It captures sunlight and converts it into electrical energy.
- Types of Solar Panels:
- Monocrystalline (efficient and durable).
- Polycrystalline (cost-effective but slightly less efficient).
- Thin-film (lightweight but lower efficiency).
- Specifications:
- Power rating: Typically between 10W and 100W, depending on the fan’s power requirements.
- Voltage: A 12V solar panel is common for small fan setups.
2. Rechargeable Battery
Batteries store excess energy generated by the solar panel for use when sunlight is unavailable.
- Recommended Types:
- Lead-acid (affordable and widely available).
- Lithium-ion (lightweight and longer lifespan).
- Specifications:
- Capacity: Measured in ampere-hours (Ah), choose based on fan usage duration.
- Voltage: Should match the solar panel (e.g., 12V).
3. Charge Controller
A charge controller regulates the voltage and current from the solar panel to the battery, preventing overcharging and damage.
- Features to Look For:
- Overcharge and over-discharge protection.
- LCD display for monitoring.
- PWM (Pulse Width Modulation) or MPPT (Maximum Power Point Tracking) technology.
4. DC Motor or AC Motor
The fan’s motor converts electrical energy into mechanical motion. DC motors are more efficient for solar-powered systems.
- Specifications:
- Power rating: Should match the solar panel and battery output.
- Voltage: Typically 12V for compatibility.
5. Fan Blades
The blades determine the airflow and cooling capacity. Choose lightweight and durable materials such as plastic or aluminum.
6. Inverter (Optional)
If you’re using an AC motor or fan, an inverter will convert DC power from the battery into AC power.
- Types of Inverters:
- Pure sine wave (ideal for sensitive equipment).
- Modified sine wave (affordable but less efficient).
7. Wiring and Connectors
Proper wiring ensures safe and efficient connections between components.
- Requirements:
- Solar cables (UV-resistant and durable).
- Connectors such as MC4 for solar panels.
- Sufficient wire gauge to handle the current.
8. Mounting Hardware
Securely mount the solar panel and fan for stability.
- Options:
- Adjustable brackets for solar panels.
- Stands or wall mounts for the fan.
9. Tools and Accessories
- Screwdrivers, wrenches, and pliers for assembly.
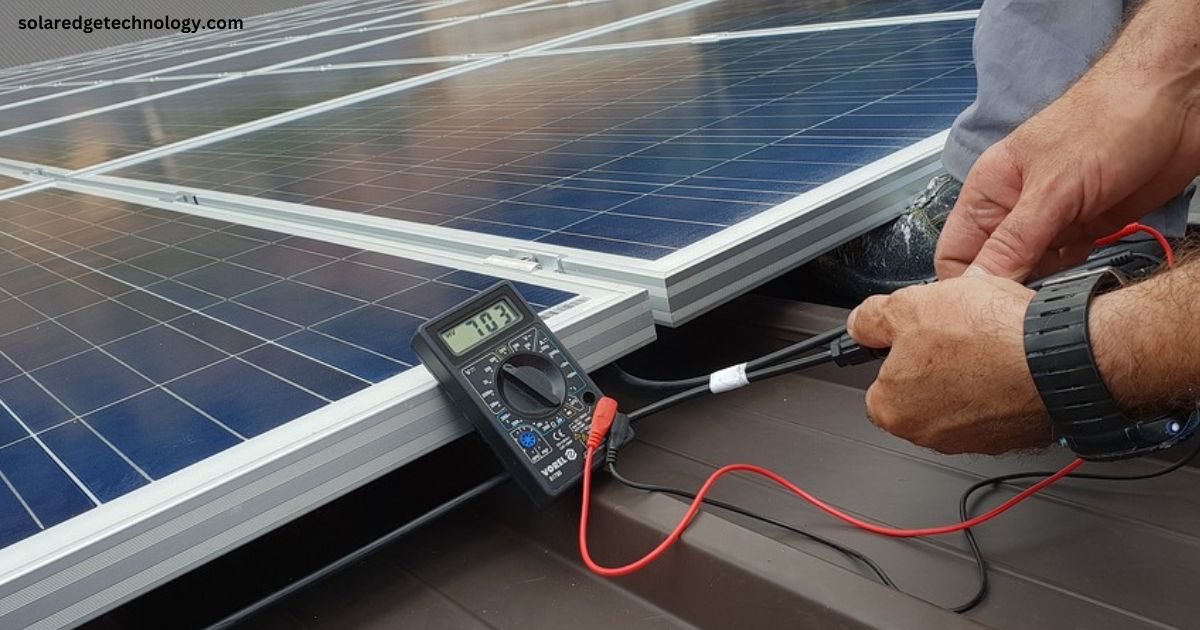
- Multimeter for testing voltage and current.
- Insulation tape and cable ties for securing connections.
Step-by-Step Guide to Create a Fan Using a Solar Panel
Step 1: Determine Power Requirements
Calculate the total energy consumption of the fan. For example:
- If the fan requires 12V and 1A, it consumes 12W of power.
- For 5 hours of usage: 12W × 5 hours = 60Wh (watt-hours).
Step 2: Select Components
Choose components based on power requirements:
- Solar panel: 20W to 50W.
- Battery: 12V, 10Ah.
- Charge controller: 12V, 10A.
Step 3: Assemble the System
- Install the Solar Panel:
- Mount it in a location with maximum sunlight exposure.
- Connect it to the charge controller using MC4 connectors.
- Connect the Battery:
- Attach the battery to the charge controller.
- Ensure correct polarity to avoid damage.
- Connect the Fan Motor:
- Attach the fan’s motor to the charge controller’s output terminals.
- Test the System:
- Use a multimeter to check voltage and current.
- Ensure the fan operates smoothly.
Step 4: Optimize Performance
- Adjust the solar panel’s angle for maximum efficiency.
- Periodically clean the panel to remove dust and debris.
- Monitor battery health and replace when necessary.
Comparison Table of Essential Components
| Component | Recommended Option | Key Features | Estimated Cost (USD) |
|---|---|---|---|
| Solar Panel | Monocrystalline 50W | High efficiency, durable | $50 – $100 |
| Battery | Lithium-ion 12V 10Ah | Lightweight, long lifespan | $60 – $120 |
| Charge Controller | MPPT 12V 10A | Efficient, LCD display | $20 – $50 |
| DC Motor | 12V DC Motor | Energy-efficient, compact | $15 – $40 |
| Fan Blades | Plastic or Aluminum | Lightweight, durable | $10 – $30 |
FAQs
1. What is the ideal solar panel size for powering a fan?
The ideal size depends on the fan’s power requirements. A 20W to 50W solar panel is suitable for small to medium fans.
2. Can I use an AC fan with a solar panel?
Yes, but you will need an inverter to convert DC power from the solar panel into AC power.
3. How long can a solar-powered fan run?
The runtime depends on battery capacity. For example, a 12V 10Ah battery can power a 12W fan for approximately 8 hours.
4. What maintenance does a solar-powered fan require?
Regularly clean the solar panel and check battery health. Ensure wiring connections are secure and free from corrosion.
5. Is a charge controller necessary?
Yes, a charge controller is essential to prevent battery overcharging and ensure system safety.
Conclusion
Creating a fan powered by a solar panel is an innovative and practical way to harness renewable energy for cooling. By understanding the items needed to create a fan using a solar panel and following the steps outlined, you can build an efficient system that is both cost-effective and eco-friendly. Whether for personal use or as a DIY project, a solar-powered fan offers numerous advantages, making it a worthwhile investment for a sustainable future.