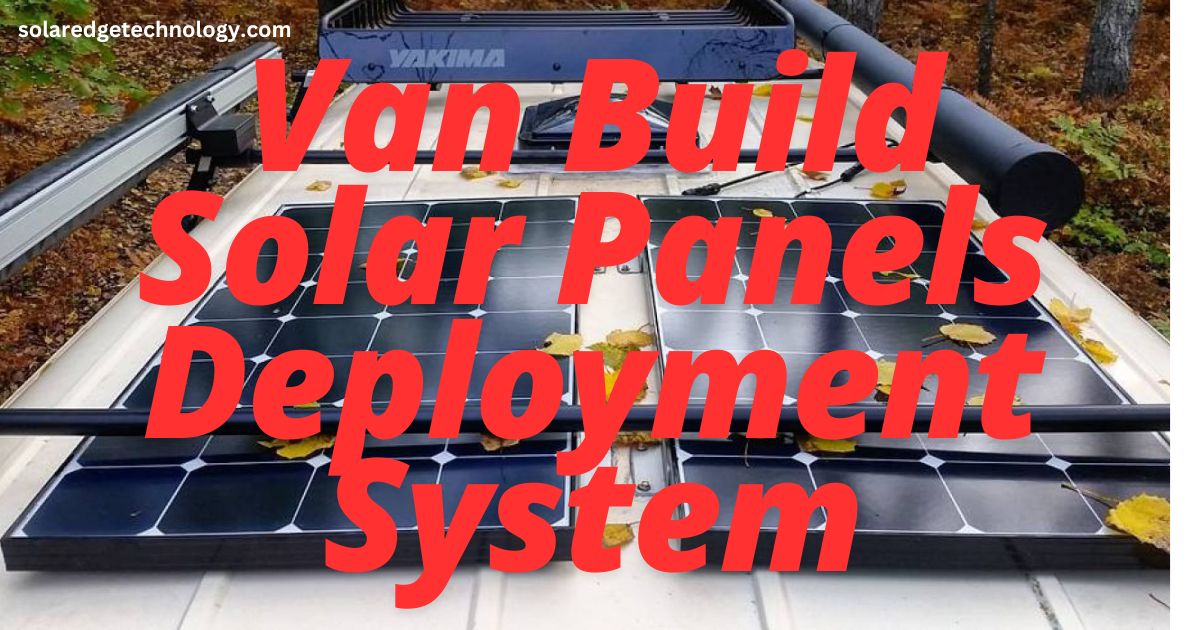
In recent years, van life has grown in popularity as people seek freedom, adventure, and a minimalist lifestyle. A crucial aspect of converting a van into a comfortable and self-sufficient living space is installing an efficient solar panel deployment system. This guide delves into everything you need to know about creating a solar setup that powers your van build, ensuring you can live off-grid with ease.
Why Solar Panels Are Essential for Van Builds
Solar panels are the backbone of off-grid van living. They provide a renewable energy source, reducing your reliance on external power outlets and minimizing your environmental impact. With a properly designed solar system, you can power essential appliances, lighting, and electronic devices without worrying about depleting your batteries.
Key Considerations for a Solar Deployment System
When designing your van’s solar panel deployment system, keep these critical factors in mind:
1. Energy Requirements
Assess your energy needs by listing all the devices and appliances you plan to use. Calculate their total wattage and runtime to determine how much power your system needs to generate and store.
2. Panel Size and Type
Choose between rigid, flexible, or portable solar panels based on your van’s roof space, mounting options, and intended usage. Rigid panels are durable, while flexible panels are lightweight and adaptable to curved surfaces.
3. Mounting Mechanism
Your deployment system should include a reliable mounting mechanism. Options include:
- Fixed Mounts: Secure panels permanently to the roof for simplicity.
- Tilt Mounts: Allow panels to tilt for maximum sun exposure.
- Slide-Out or Portable Panels: Offer flexibility to reposition panels as needed.
4. Battery Storage and Inverter
Pair your solar panels with high-capacity batteries (e.g., lithium-ion or AGM) to store energy. Use an inverter to convert DC power to AC for standard appliances.
Step-by-Step Solar Panel Deployment System Installation
Step 1: Plan Your Layout
Map out the placement of panels, wiring, batteries, and controllers in your van. Consider weight distribution and ease of access for maintenance.
Step 2: Install the Mounting System
If using roof-mounted panels, attach brackets or rails securely to your van’s roof. Ensure they are weatherproof and stable during travel.
Step 3: Wire the System
Connect the solar panels to a charge controller, which regulates energy flow to the batteries. Use high-quality cables and connectors to prevent power loss.
Step 4: Add the Battery Bank
Install your battery system in a ventilated and secure location. Connect it to the charge controller and inverter. Test the connections to ensure seamless energy storage.
Step 5: Test and Optimize
Once the system is installed, test its functionality. Monitor energy output and adjust the panel angles for optimal sunlight exposure.
Tips for Maximizing Solar Efficiency
- Park Strategically: Position your van in sunny spots to maximize solar gain.
- Keep Panels Clean: Remove dirt and debris regularly to maintain efficiency.
- Upgrade as Needed: Expand your system with additional panels or batteries as your energy needs grow.
Final Thoughts
Installing a solar panel deployment system in your van build is a game-changer for off-grid living. With the right components and a well-planned setup, you can enjoy the freedom of van life without sacrificing modern conveniences. Whether you’re a weekend adventurer or a full-time van lifer, a reliable solar system ensures you stay powered wherever the road takes you.
Ready to hit the road? Power your van and your dreams with a solar panel deployment system designed for adventure.
